Teams会議、ライブイベントとはまた違ってTeamsの新機能「ウェビナー」についてご紹介いたします。
ウェビナー作成・開催
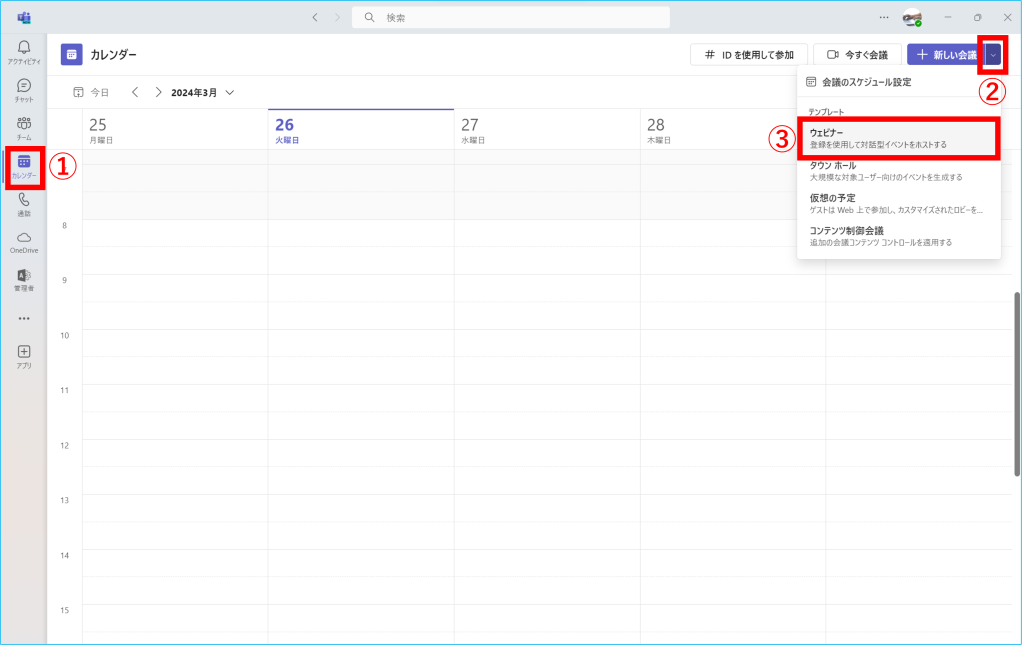
1.Teamsを起動して①「カレンダー」、②「+新しい会議」メニューから③「ウェビナー」をクリックします。
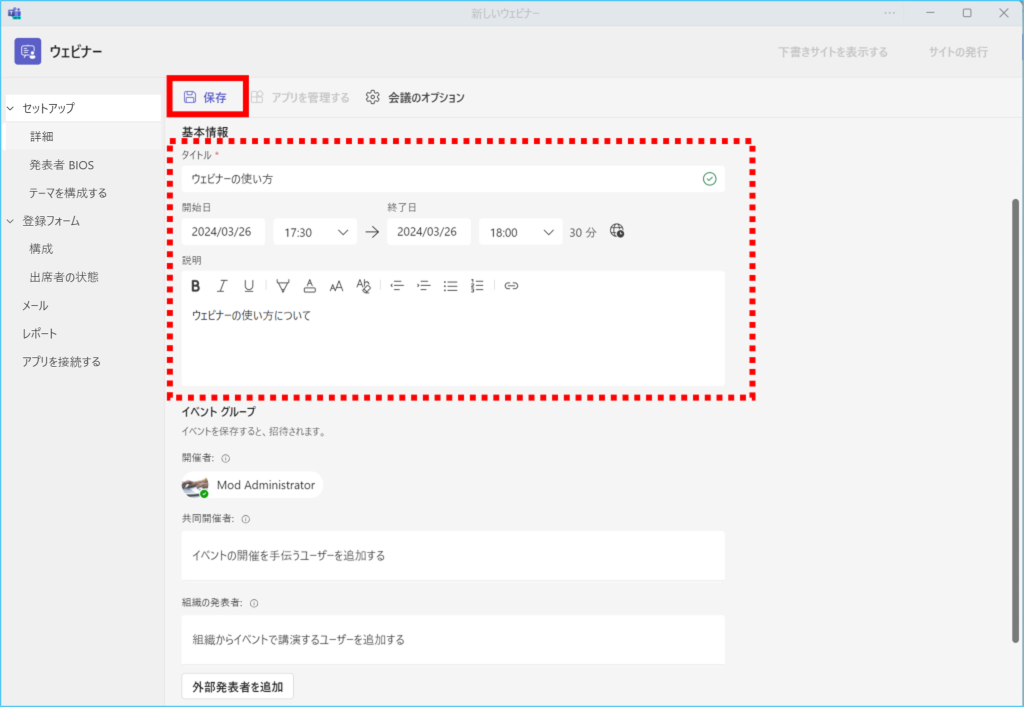
2.必要事項を入力して「保存」をクリックします。
※共同開催者、組織の発表者の追加については作成後でも追加することができます。
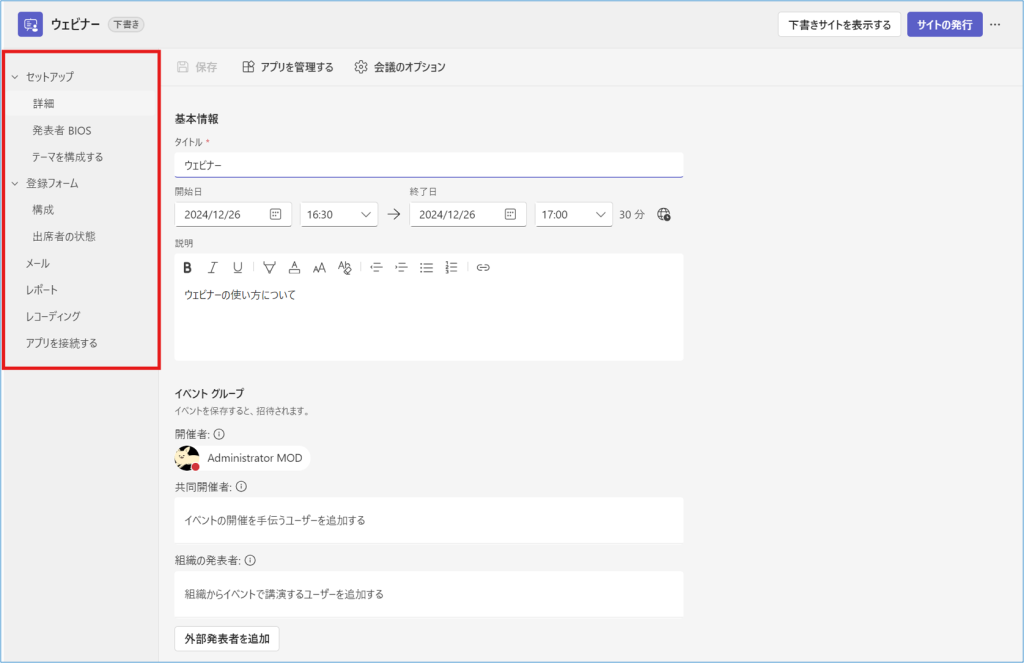
3.ウェビナーの予定が作成されます。必要に応じて各項目を入力します。
※手順2で保存すると「レコーディング」項目が表示されます。
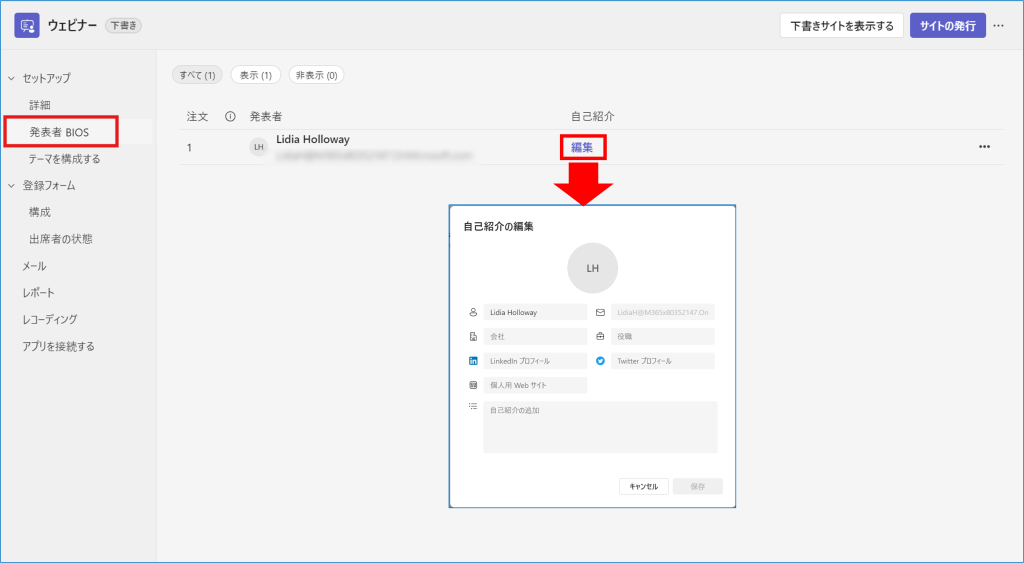
・発表者BIOS:発表者の情報を入力します。
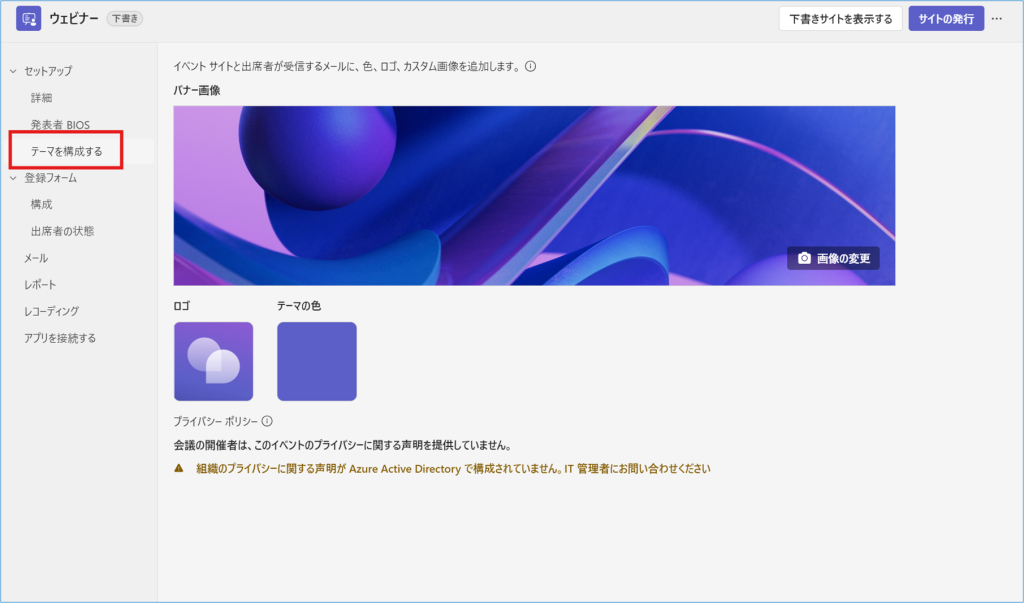
・テーマを構成する:ウェビナーのテーマカラー等を設定します。
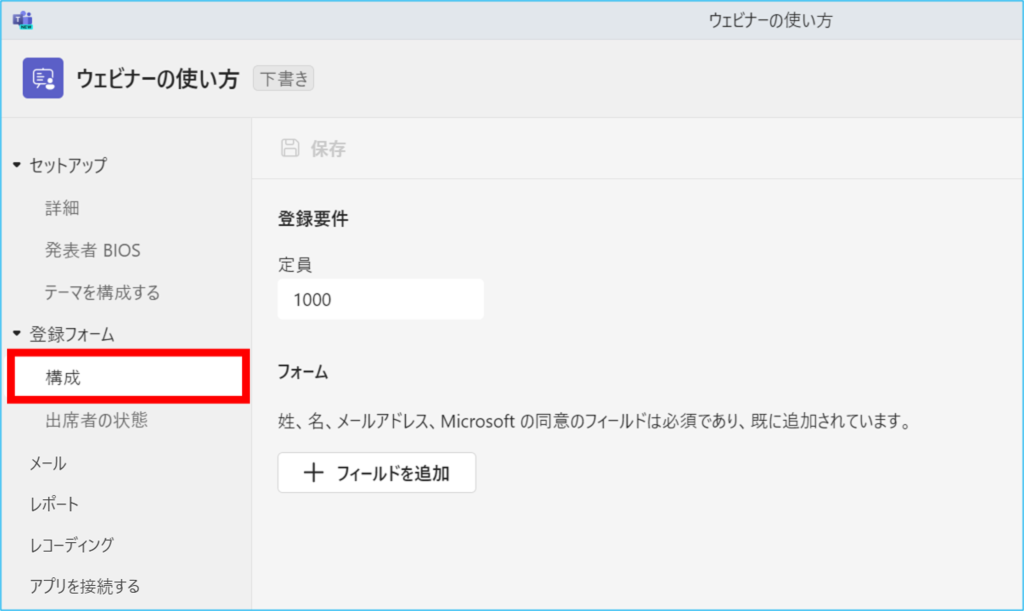
・構成:出席者に関する項目を設定します。
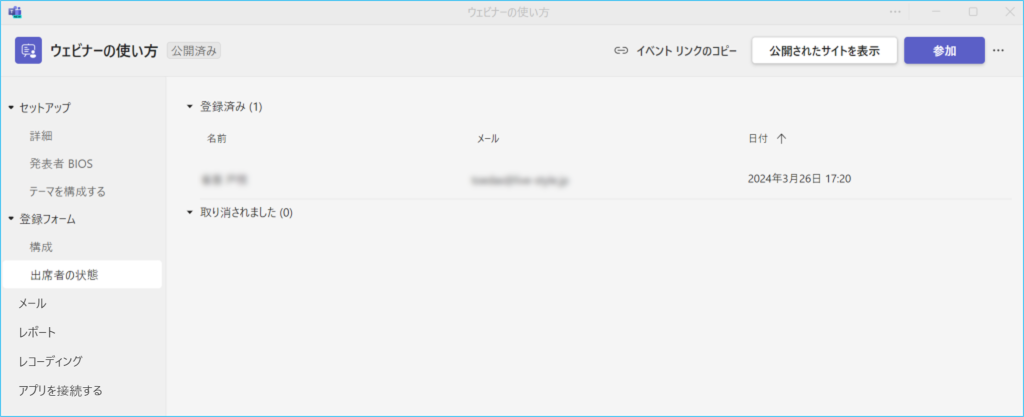
・出席者の状態:出席者の状態を表示します。
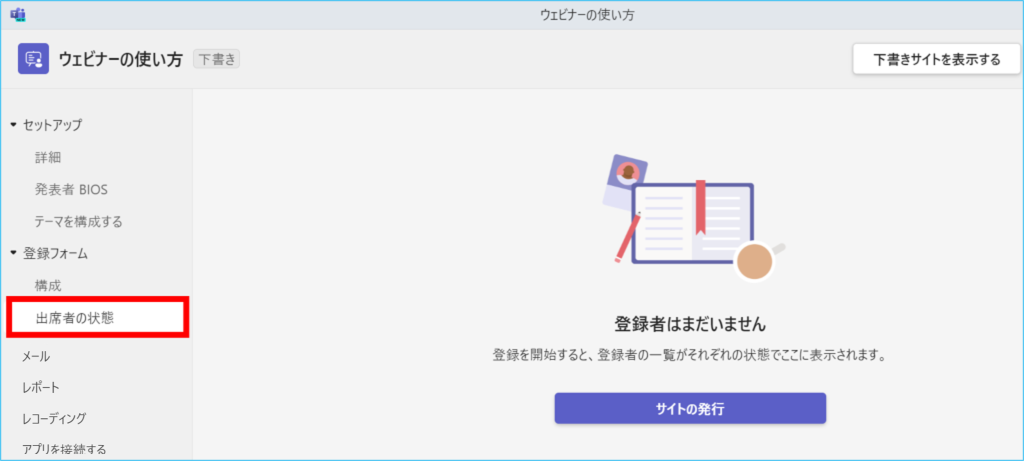
※参加者が登録された際の表示
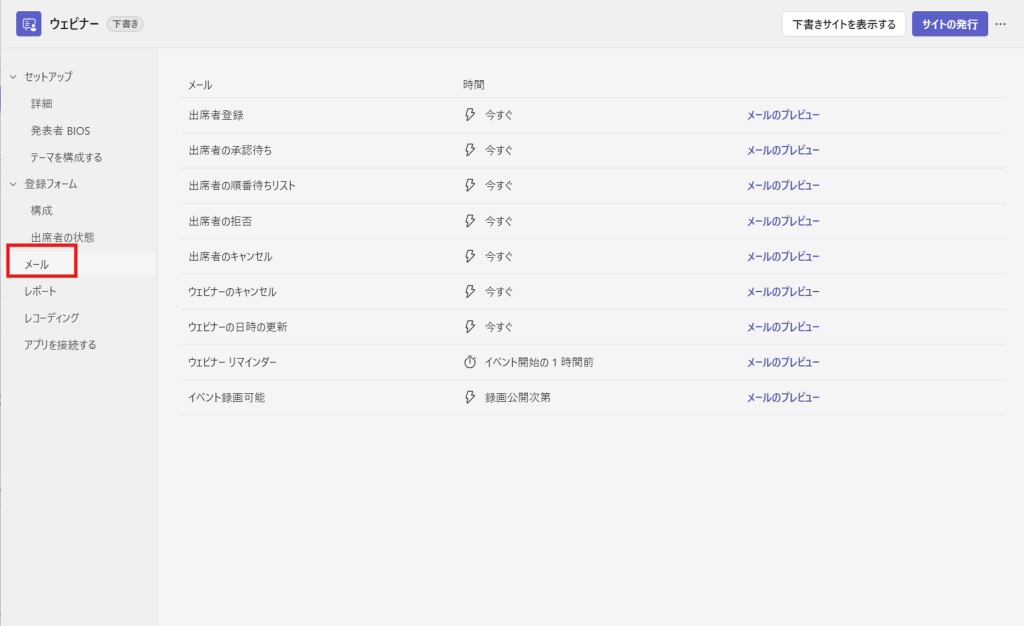
・メール:招待者に表示されるメールのプレビューが確認できます。
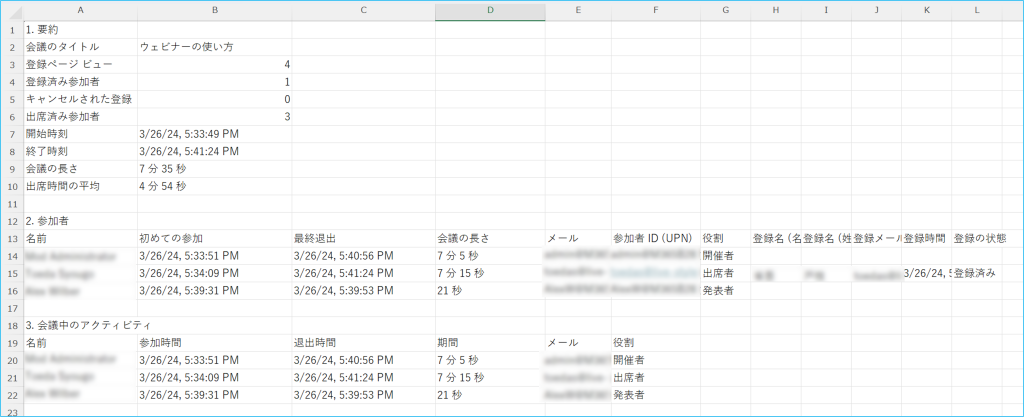
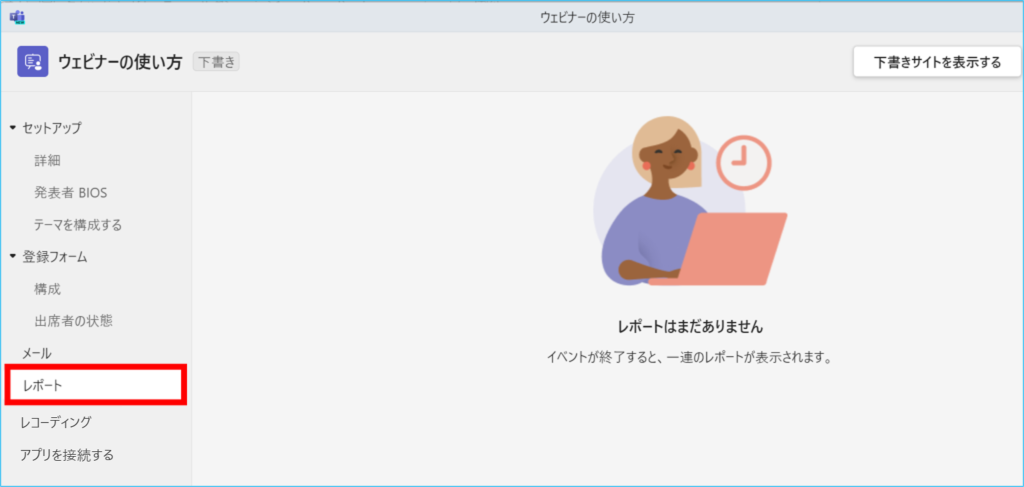
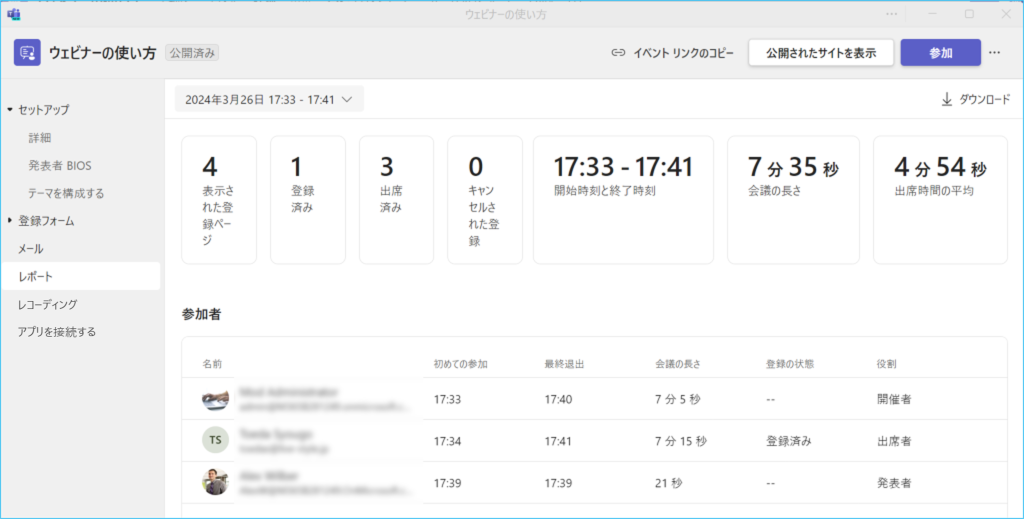
・レポート:ウェビナー終了後にレポートの確認ができます 。
※ウェビナー終了後のレポート画面
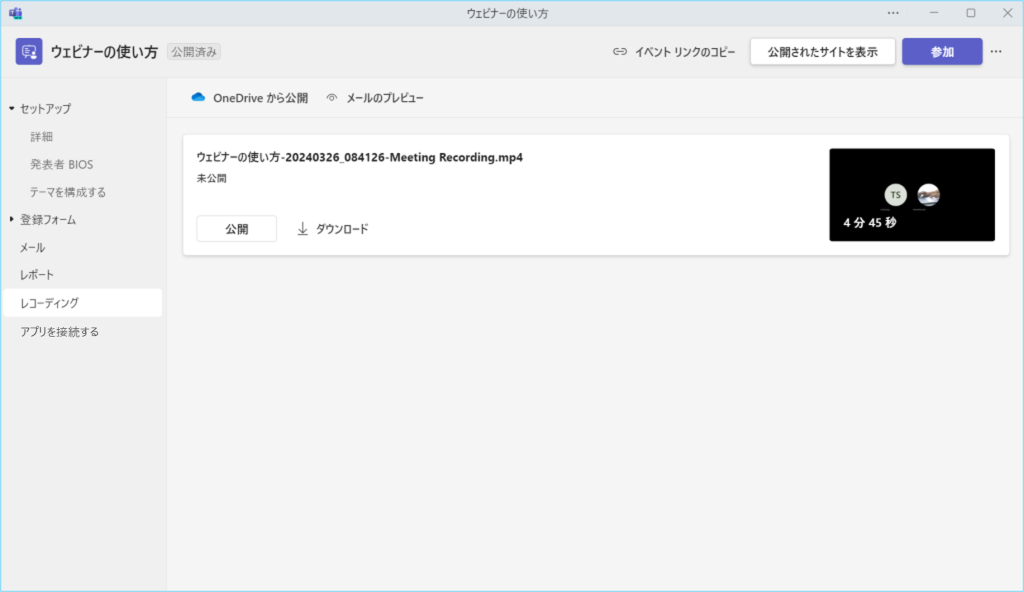
・レコーディング:ウェビナー終了後にレコーディングデータの確認ができます。

※ウェビナー終了後のレコーディング画面
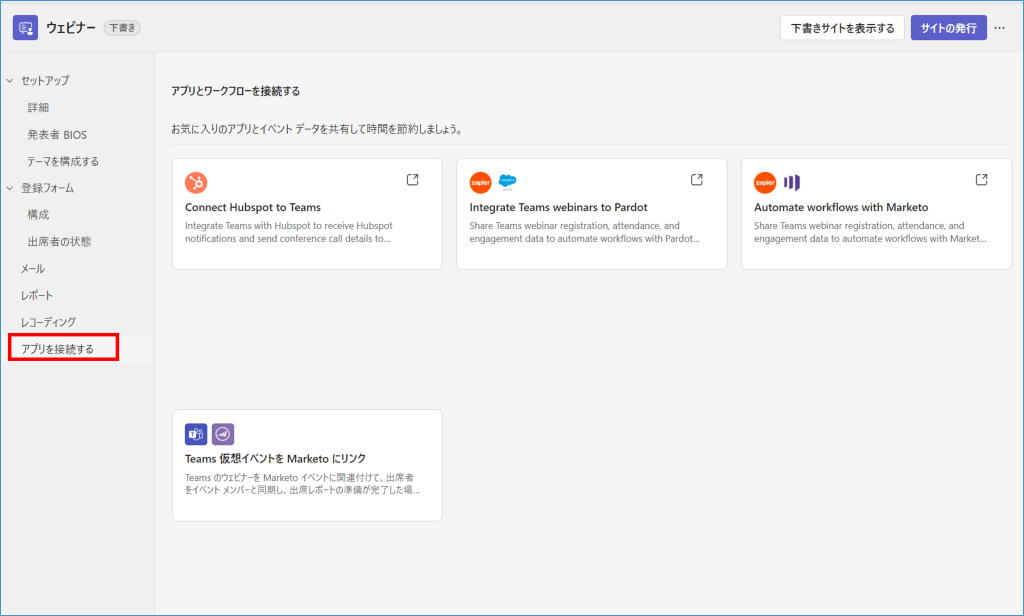
・アプリを接続する:アプリやワークフローに接続することができます。
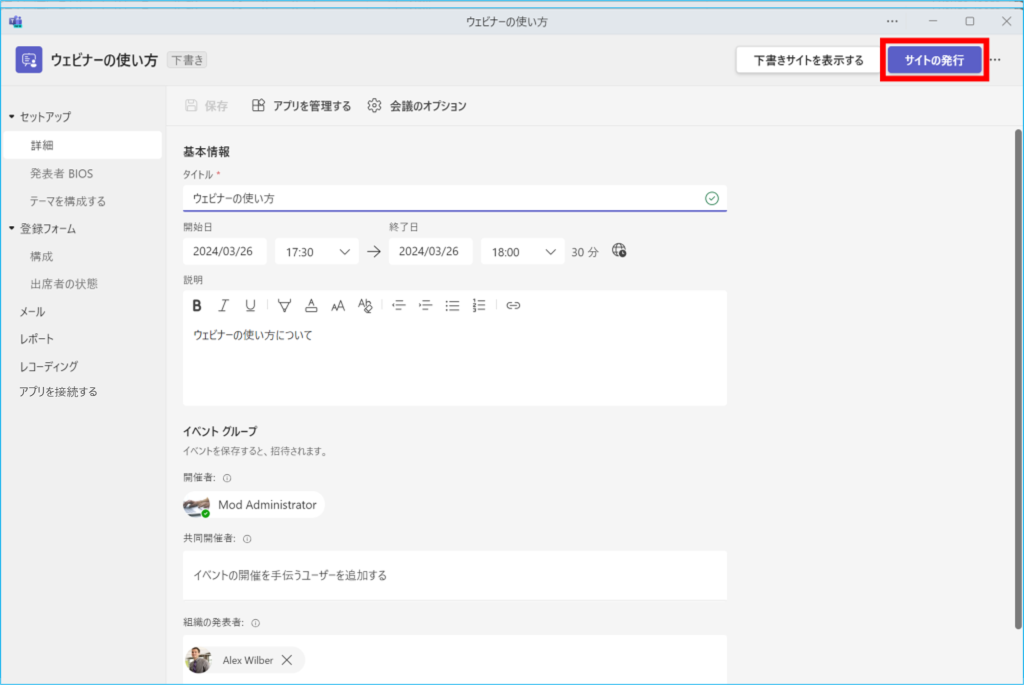
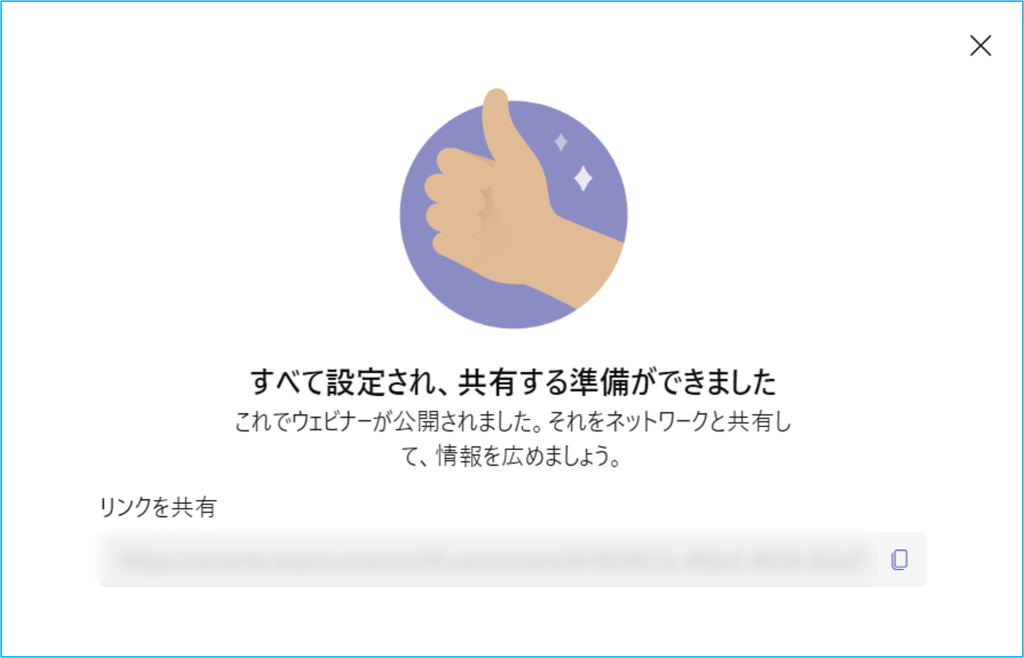
4.設定完了後、ページ内の「サイトの発行」をクリックします。
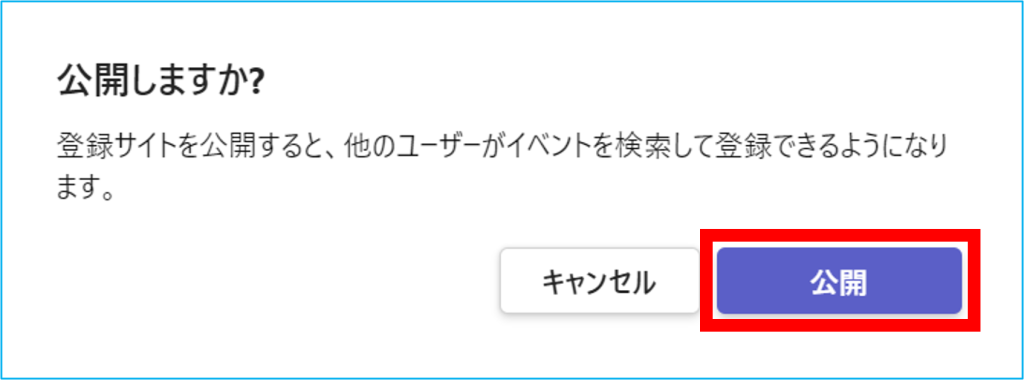
表示されるポップアップで「公開」をクリックすることでウェビナーサイトが公開されます。
5.URLが発行されるため、招待者にURLを送付します。
6.開催者はウェビナー画面で「参加」をクリックし、ウェビナーの開催画面へ移動できます。

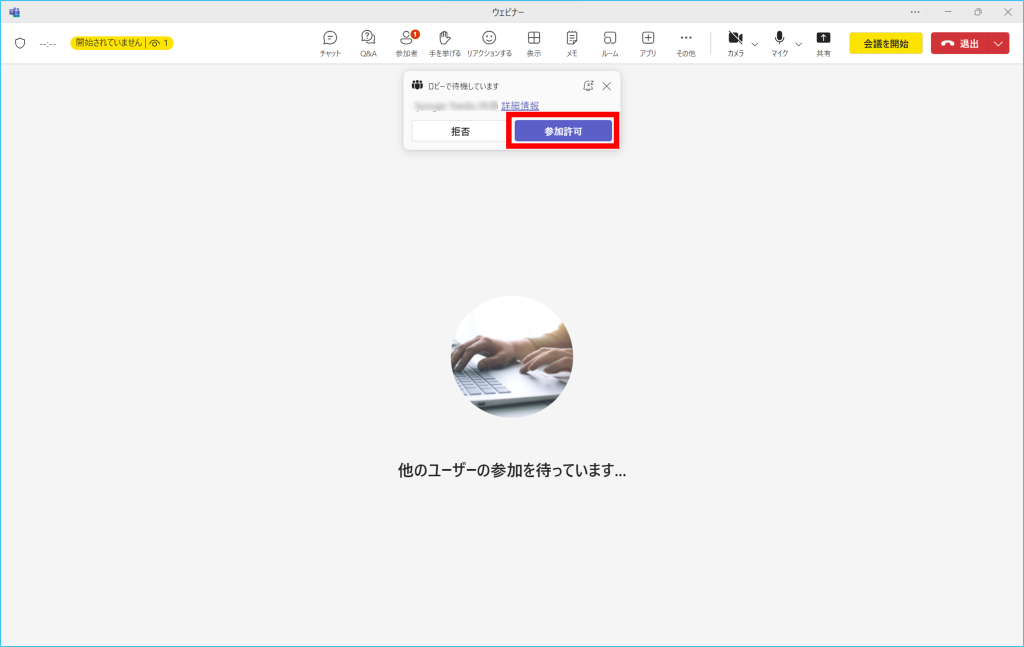
7.参加者がロビーに入ると、参加を許可するか拒否するかの確認画面が表示されるので「参加許可」をクリックします。
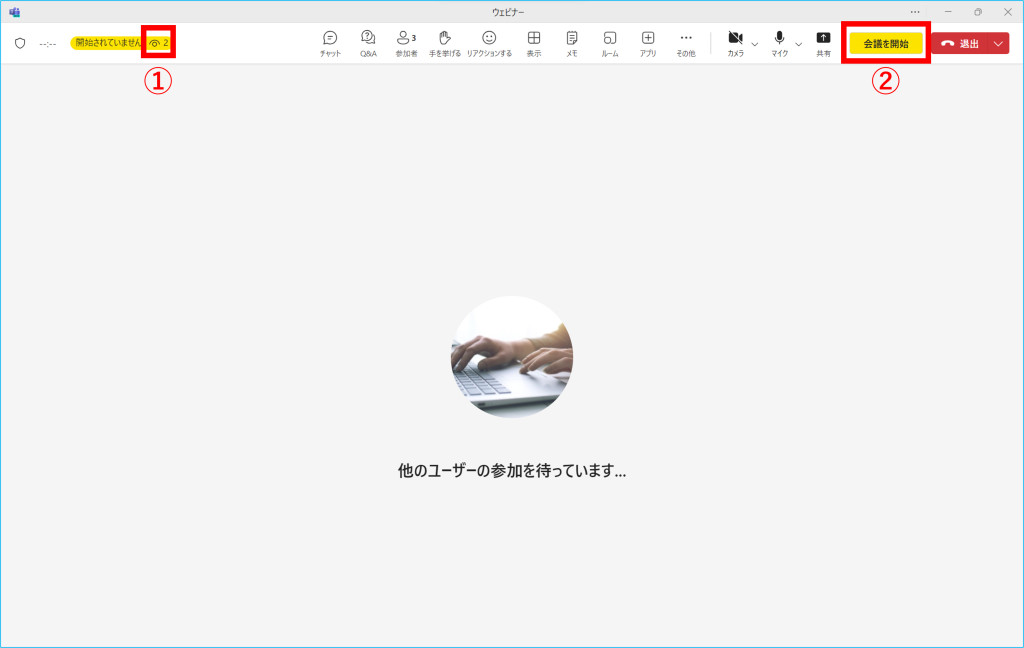
8.開催者の画面では①でロビー待機人数の確認ができ、②「会議を開始」をクリックするとウェビナーを開始できます。
登録者の参加手順
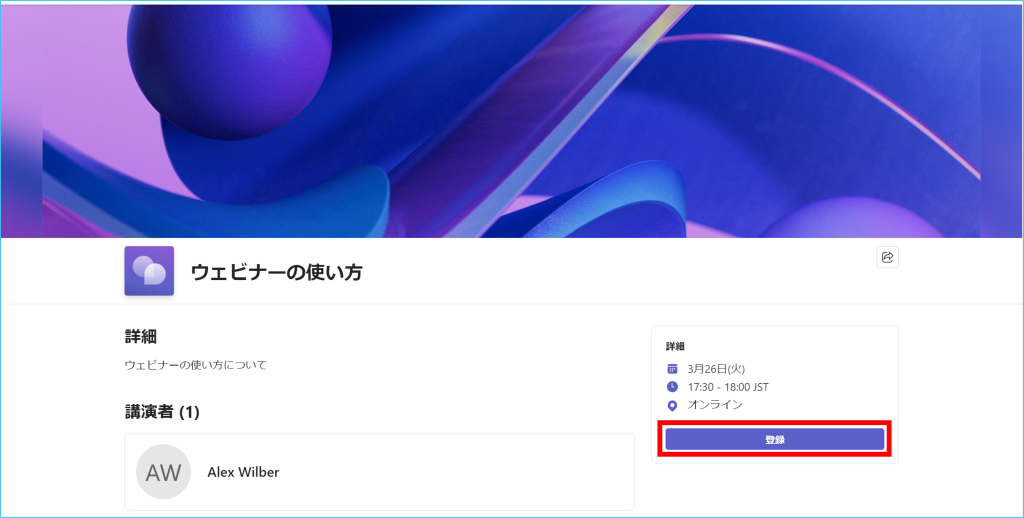
1.登録フォームのURLにアクセスすることで登録フォームが表示されます。
未登録の場合は「登録」をクリックします。
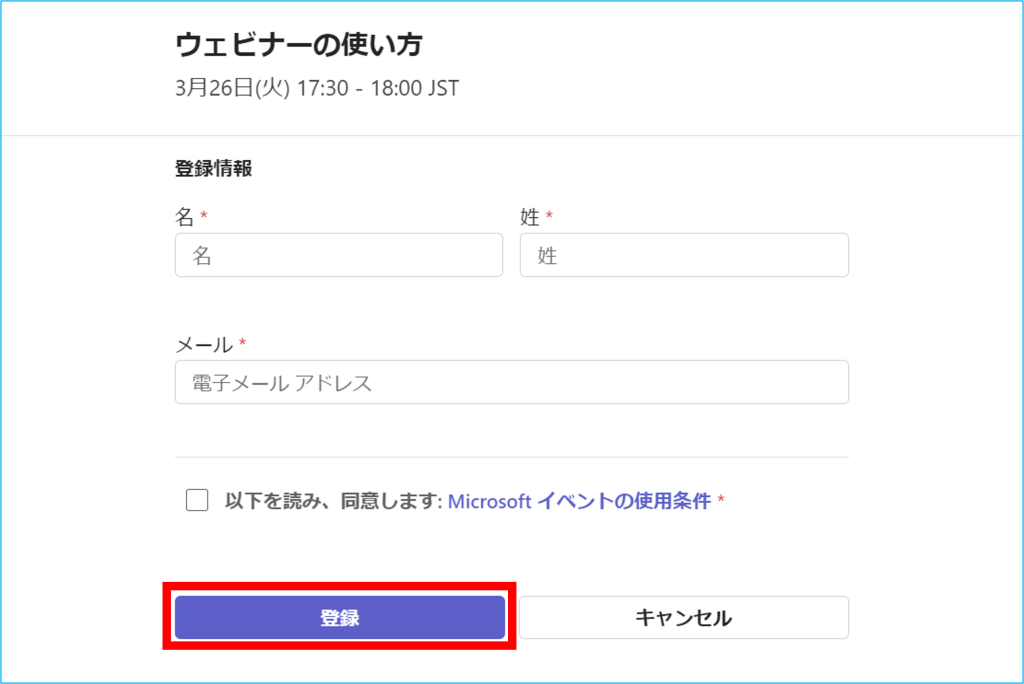
2. 登録画面にて必要事項を入力し「登録」をクリックします。
※Microsoft 365 アカウントをお持ちの場合は登録情報は自動入力されます。
登録後、登録者宛に確認メールが送信されます。

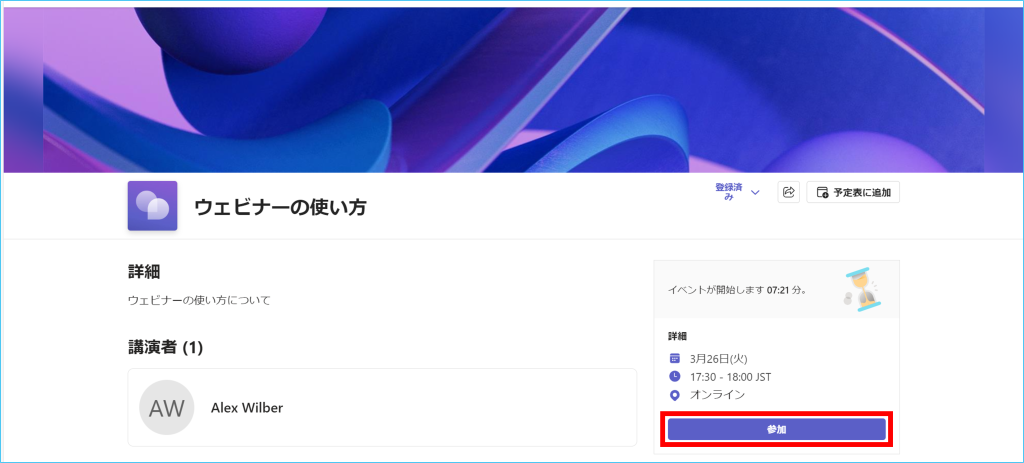
3.登録完了後、ウェビナーの参加ボタンが表示されるようになります。
「参加」をクリックすることでウェビナーのロビーに画面が遷移します。
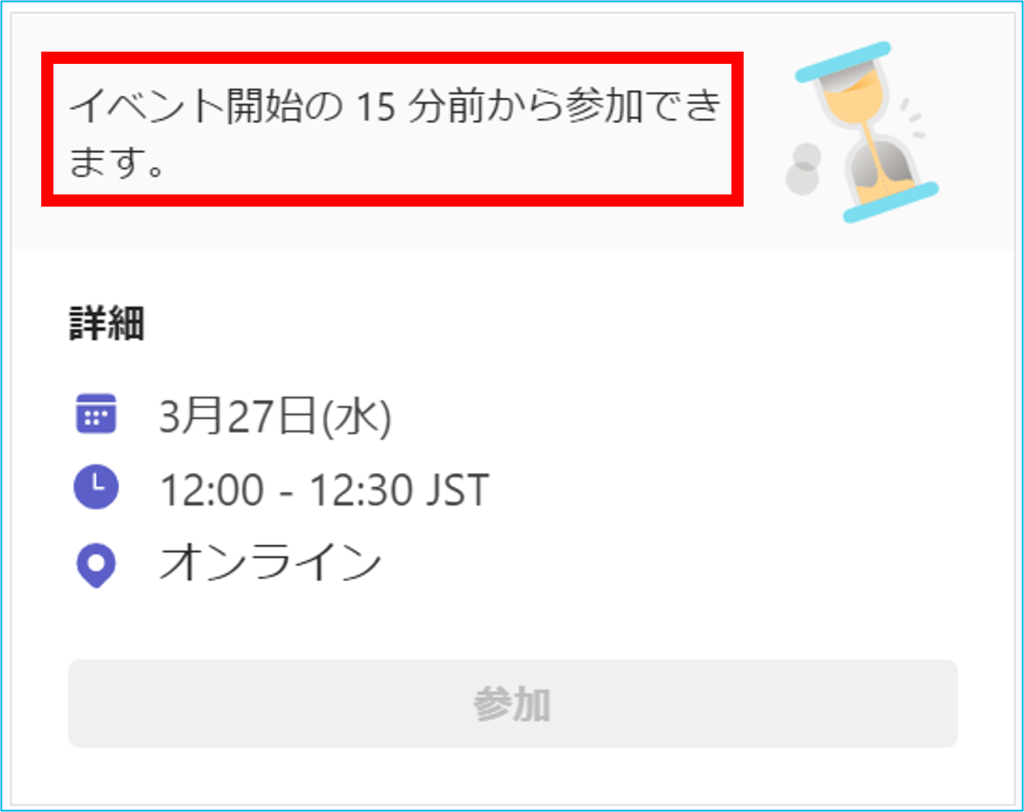
※開始時間の15分以上前だと、参加ボタンがグレーアウトし参加できません。
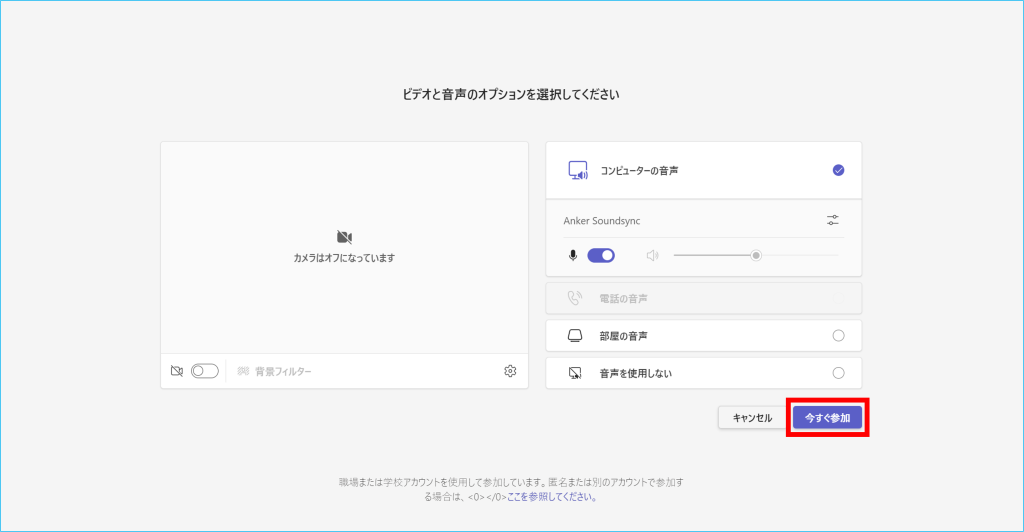
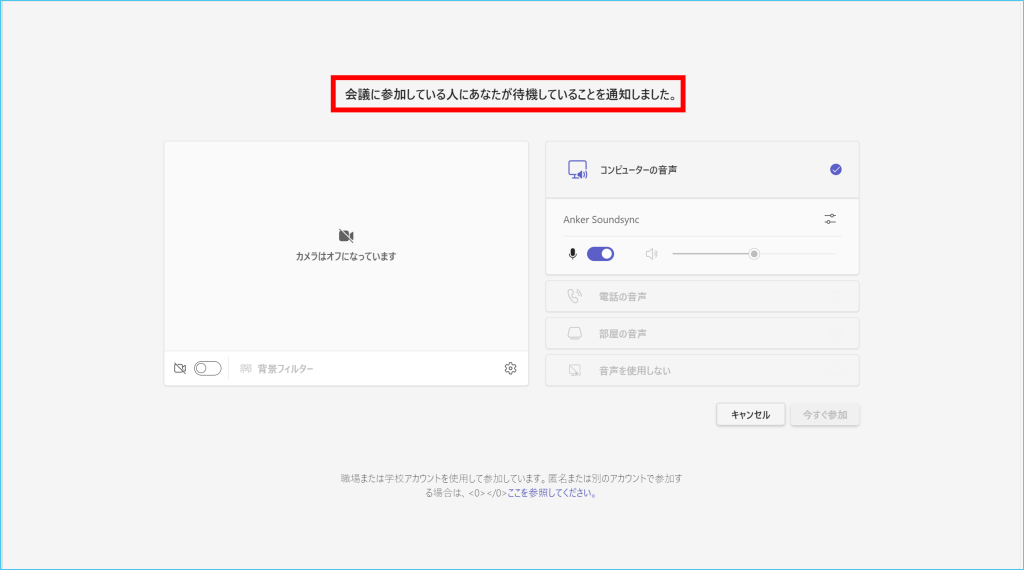
4.【ビデオと音声のオプションを選択してください】画面よりオーディオ設定を選択します。
「今すぐ参加」をクリックするとロビーに待機状態となります。
開催者宛に通知が届き、
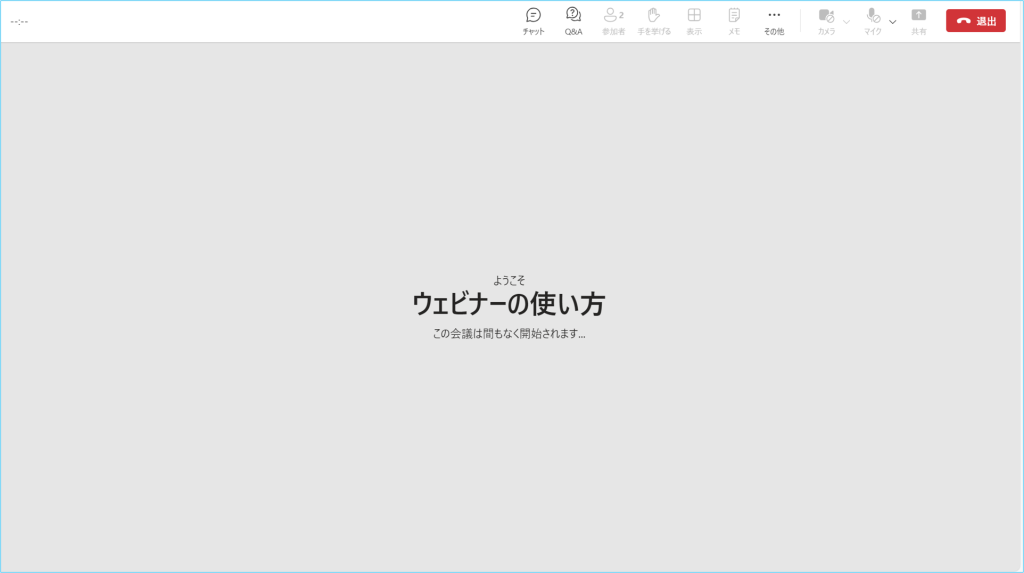
開催者が「許可」をすることでウェビナー画面に遷移されます。
発表者の参加手順
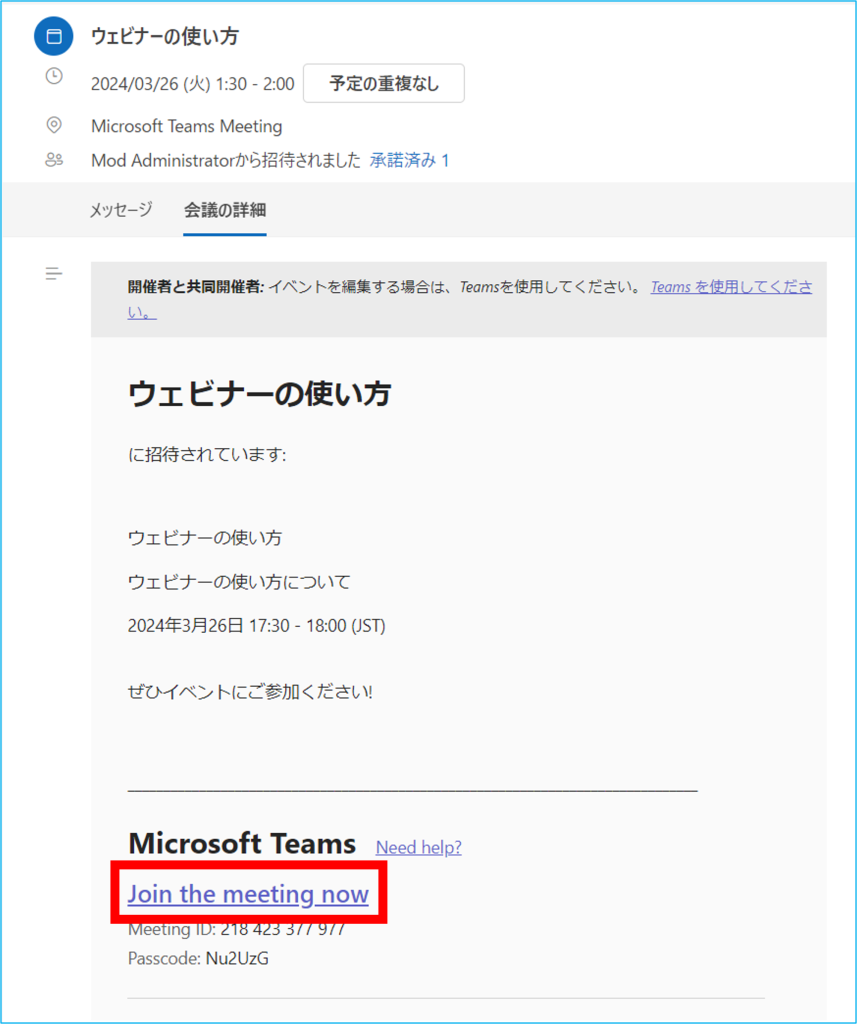
① 招集メールから参加する方法
ウェビナー作成が完了し、送信されると発表者には次の画像のような招集メールが届きます。
参加する場合は赤枠の「Join the meeting now」をクリックします。
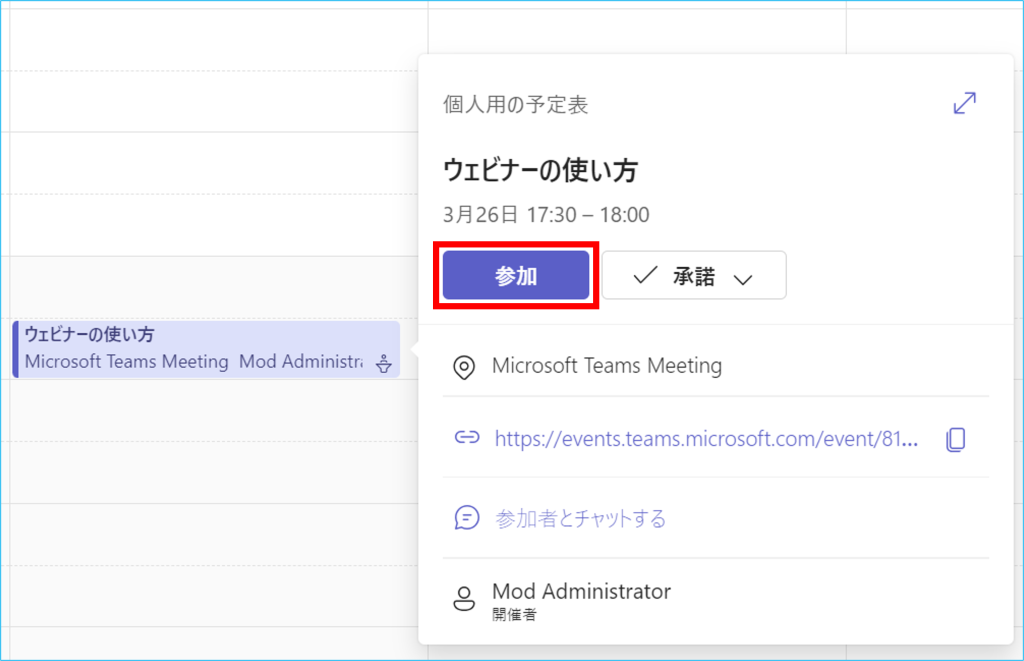
② カレンダーから開催する方法
発表者のカレンダーにウェビナーが追加されます。
参加する場合は「参加」ボタンをクリックします。
ウェビナー編集/オプション変更
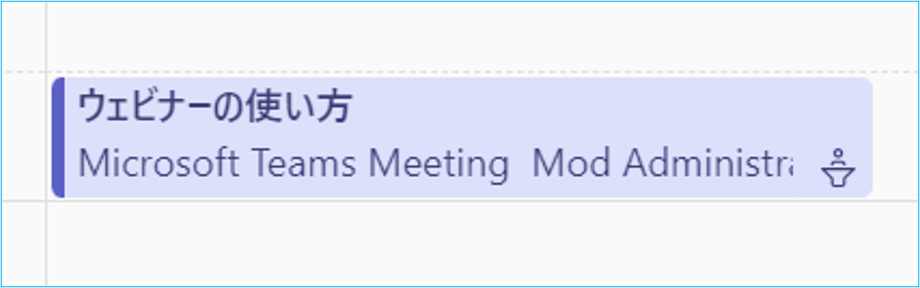
1.Microsoft Teamsを起動し、カレンダーから編集したい予定をダブルクリックします。
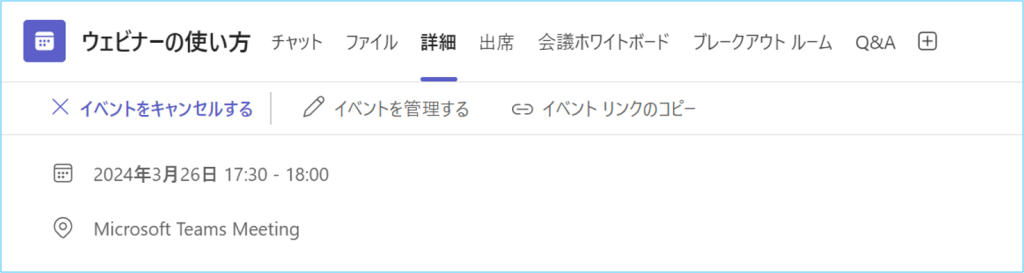
2.詳細画面が開くため、各項目を編集できます。(「ウェビナー作成」の手順2に戻ります)
登録者リスト抽出
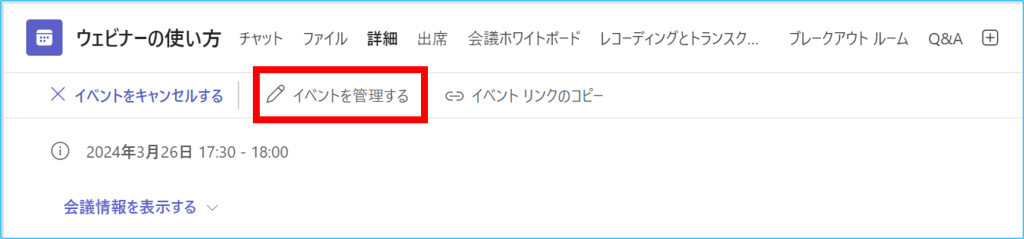
1.編集の手順2で「イベントを管理する」をクリックします。
2.①「レポート」をクリックし、②「ダウンロード」をクリックします。
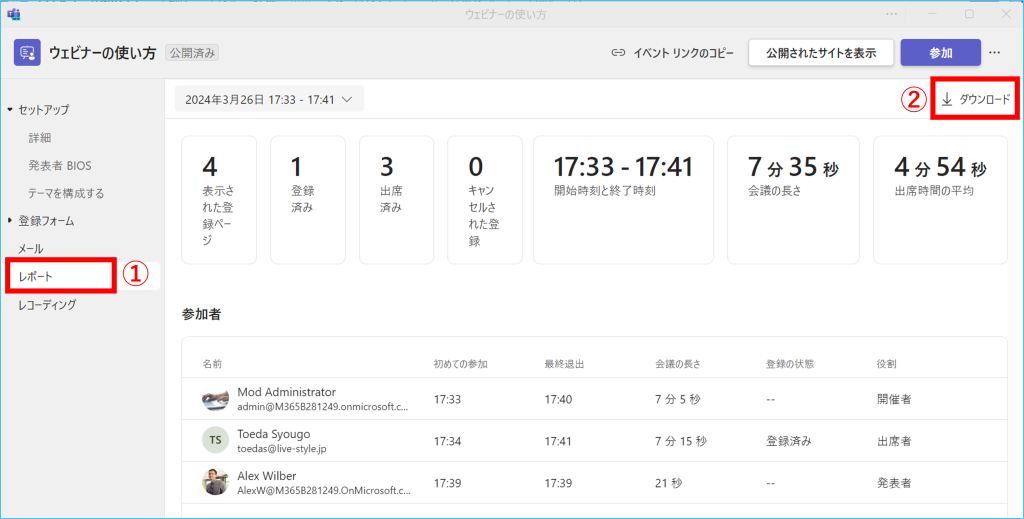
3.ExcelにCSV形式でダウンロードされます。