
今回は、Intune と連携した Store for Business に、ビジネス向け Microsoft ストア アプリ を追加する手順をご紹介します。
Intune と Store for Business を連携する手順から知りたい方は、こちらの記事をお読みください。
アプリの追加手順
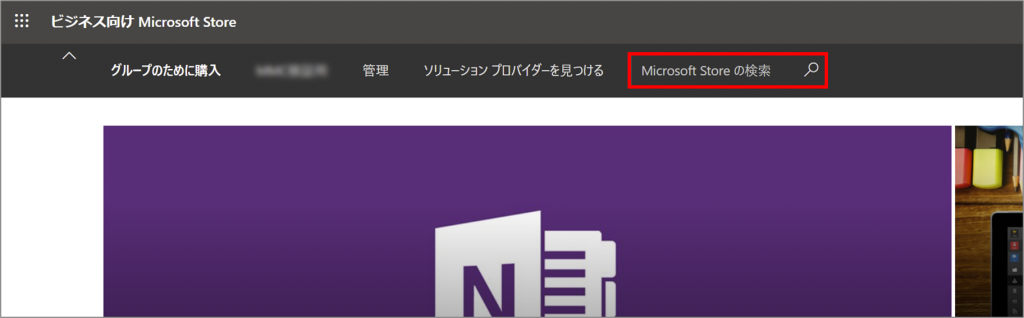
①.ビジネス向け Microsoft Store にアクセスします。
②.右上の検索バーから追加したいアプリを、検索します。
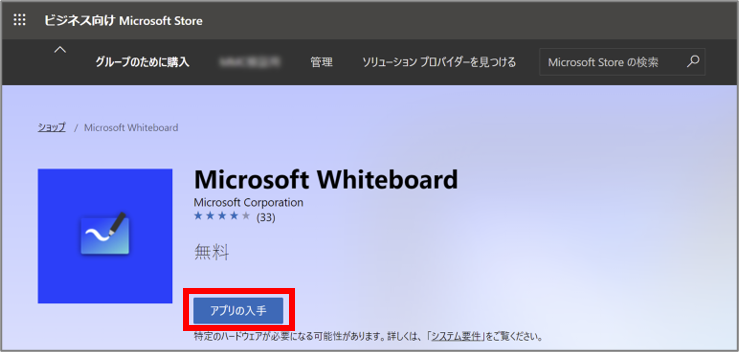
③.アプリを選択します。
④.[アプリの入手]をクリックします。
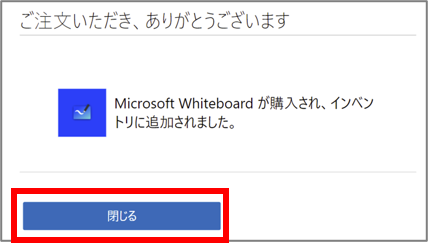
⑤.[閉じる]をクリックします。
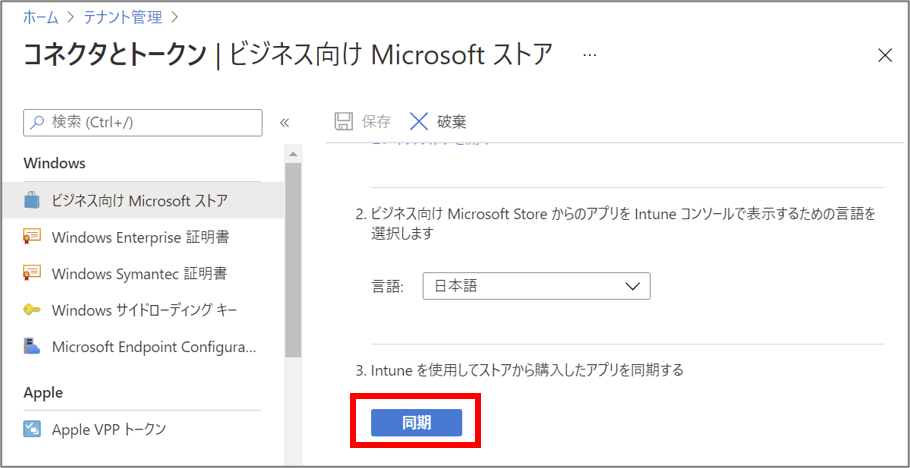
⑥.Microsoft Endpoint Manager admin center の[テナント管理]>[コネクタとトークン]>[ビジネス向け Microsoft ストア]にアクセスします。
⑦.[同期]をクリックして、Intune との同期を即時で行います。
⑧.アプリの一覧に、追加したアプリが表示されるようになります。
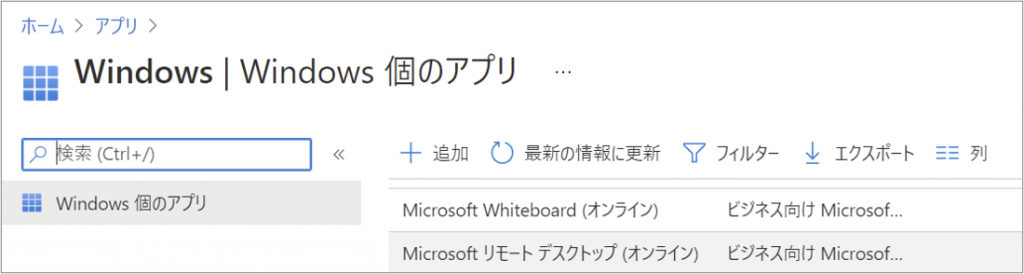
アプリを追加することで、Intune から、強制配布や利用可能として配布、アンインストールを行うことができるようになります。
割り当ての詳しい方法については、後日アップしたいと思います!