OneDrive for Business 上にフォルダーやファイルなどのアイテムを作成し、作業を管理する事ができます。また、必要に応じてチームメンバーに共有する事ができます。
共有方法については ➤ こちら
OneDrive for Business にフォルダーを作成する
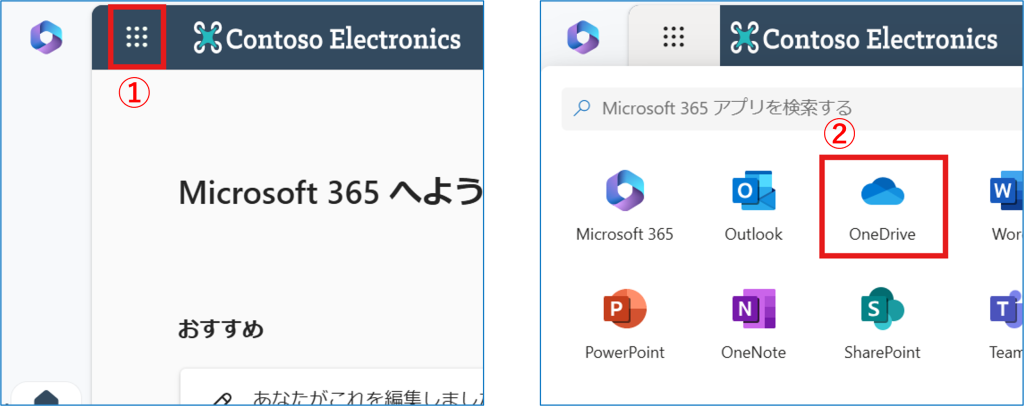
1.下記のURLに接続しサインインします。次のように ①の赤枠をクリックし、②【OneDrive】を選択します。
https://login.microsoftonline.com
![](https://livestylewebsitestorage.blob.core.windows.net/livestylewebsitescontainer/2021/12/how-to-create-a-new-note_003-1024x406.png)
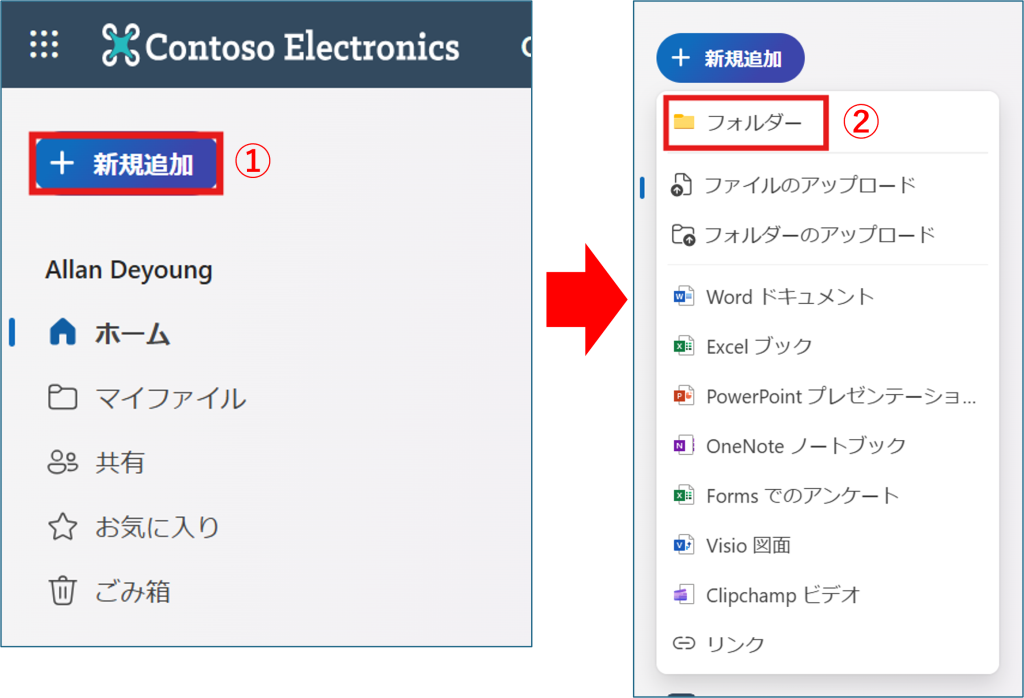
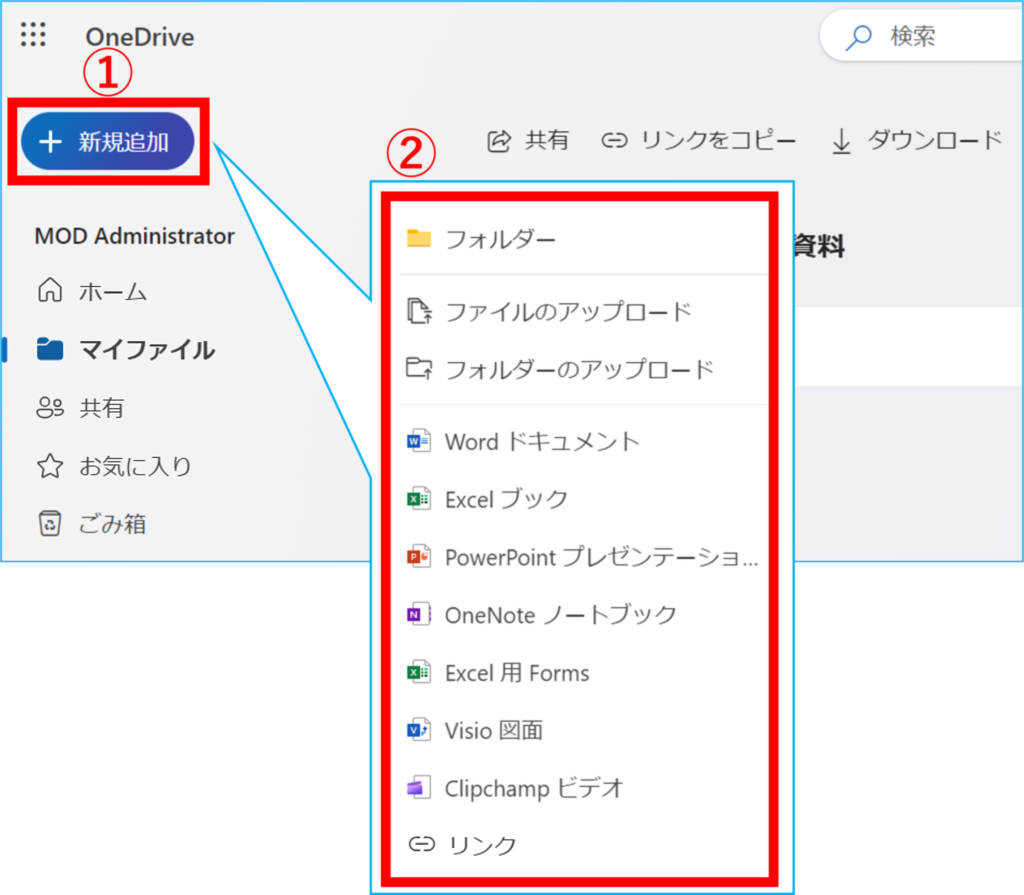
2.OneDrive が開きましたら、①「+新規追加」をクリックし、②メニューの中から
「フォルダー」を選択します。
![](https://livestylewebsitestorage.blob.core.windows.net/livestylewebsitescontainer/2021/12/create-onedrive-items_001-1024x698.png)
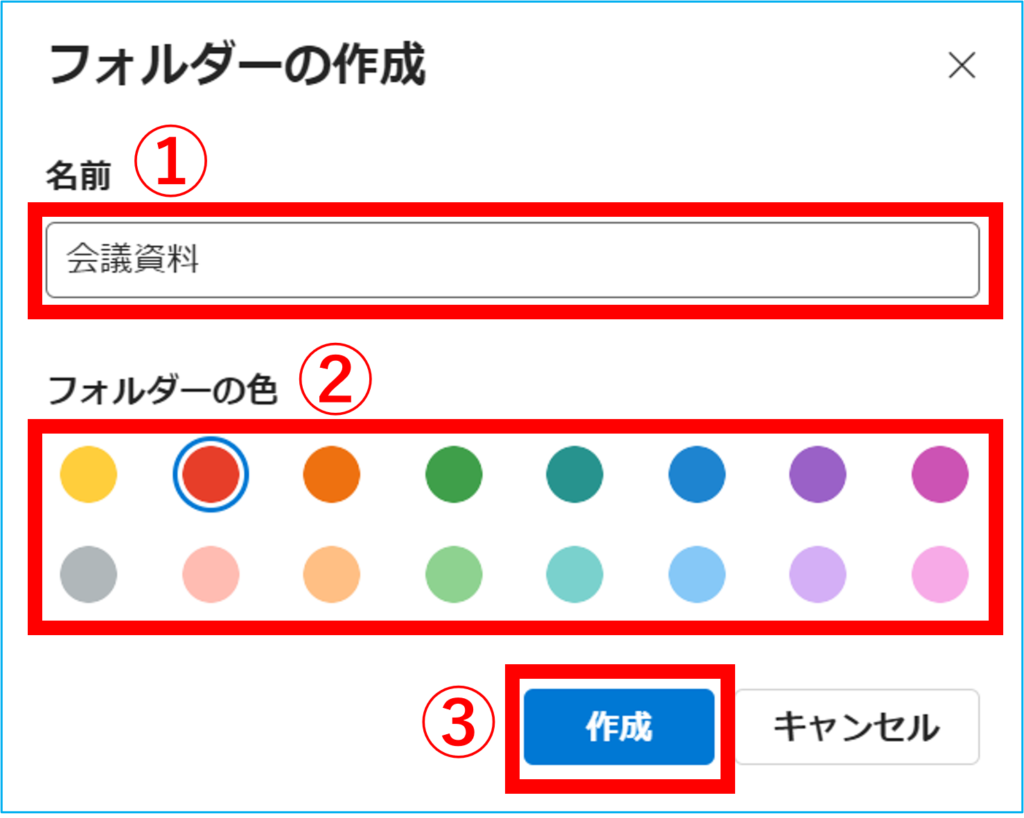
3.①フォルダー名を入力し、②必要に応じてフォルダーの色を選択し、
③「作成」をクリックします。
![](https://livestylewebsitestorage.blob.core.windows.net/livestylewebsitescontainer/2023/11/create-a-folder-in-onedrive-for-business-3-1024x818.png)
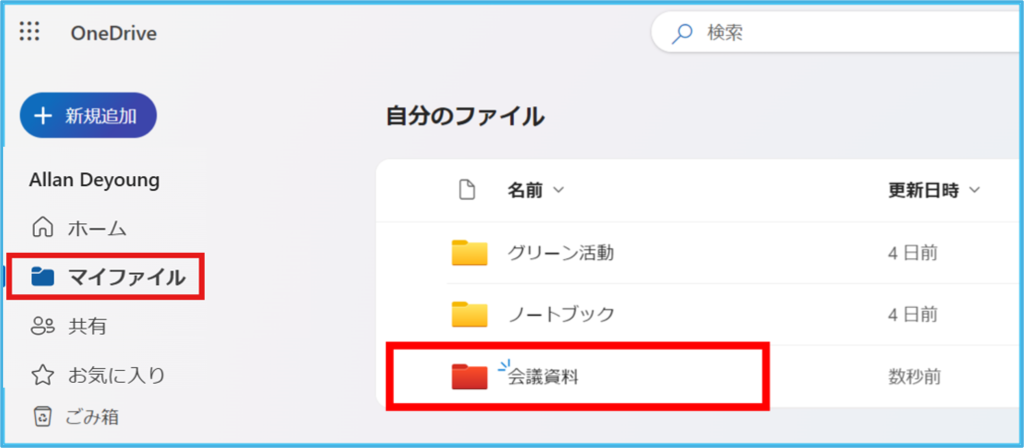
4.【自分のファイル】内に、作成したフォルダーが追加されます。
![](https://livestylewebsitestorage.blob.core.windows.net/livestylewebsitescontainer/2021/12/create-onedrive-items_002-1024x448.png)
OneDrive for Business にファイルを作成する
1.OneDrive にアクセスしましたら、
①「+新規追加」をクリックし、②使用するファイルの種類を選択します。
ここでは、Word を例にご案内します。
※フォルダー内にファイルを作成したい場合、該当のフォルダーを開いている状態で
①「+新規追加」から作成していただく必要がございますので、予めご注意ください。
![](https://livestylewebsitestorage.blob.core.windows.net/livestylewebsitescontainer/2021/12/create-onedrive-items_003-1024x895.png)
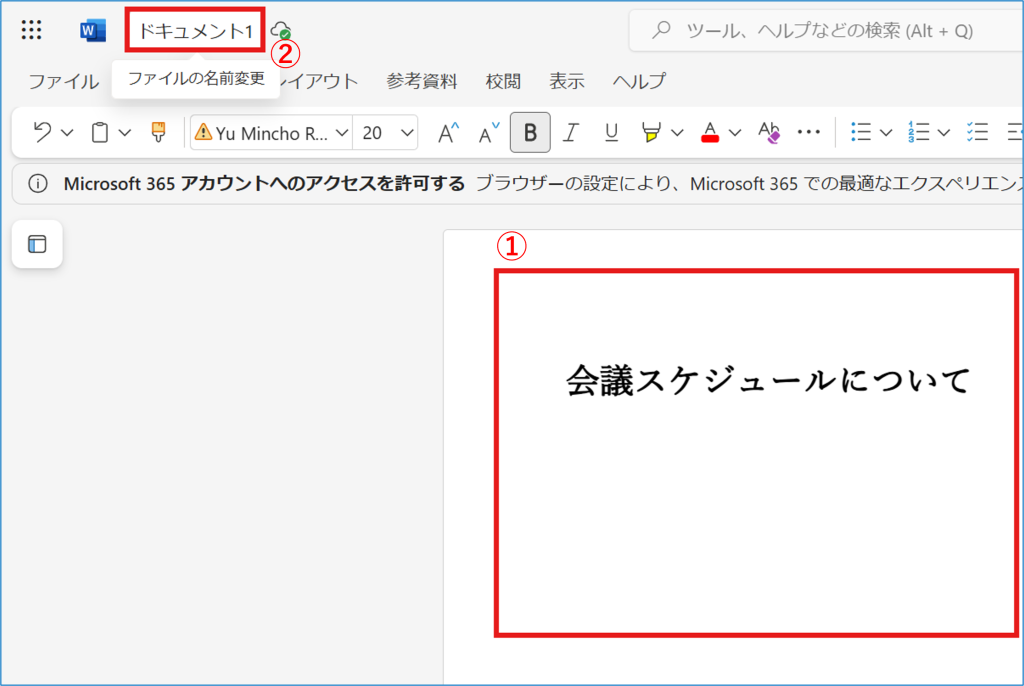
2.Office Online が開きます。
①内容を編集します。②タイトルをクリックし、ファイル名を変更できます。
![](https://livestylewebsitestorage.blob.core.windows.net/livestylewebsitescontainer/2021/12/create-onedrive-items_004-1024x686.png)
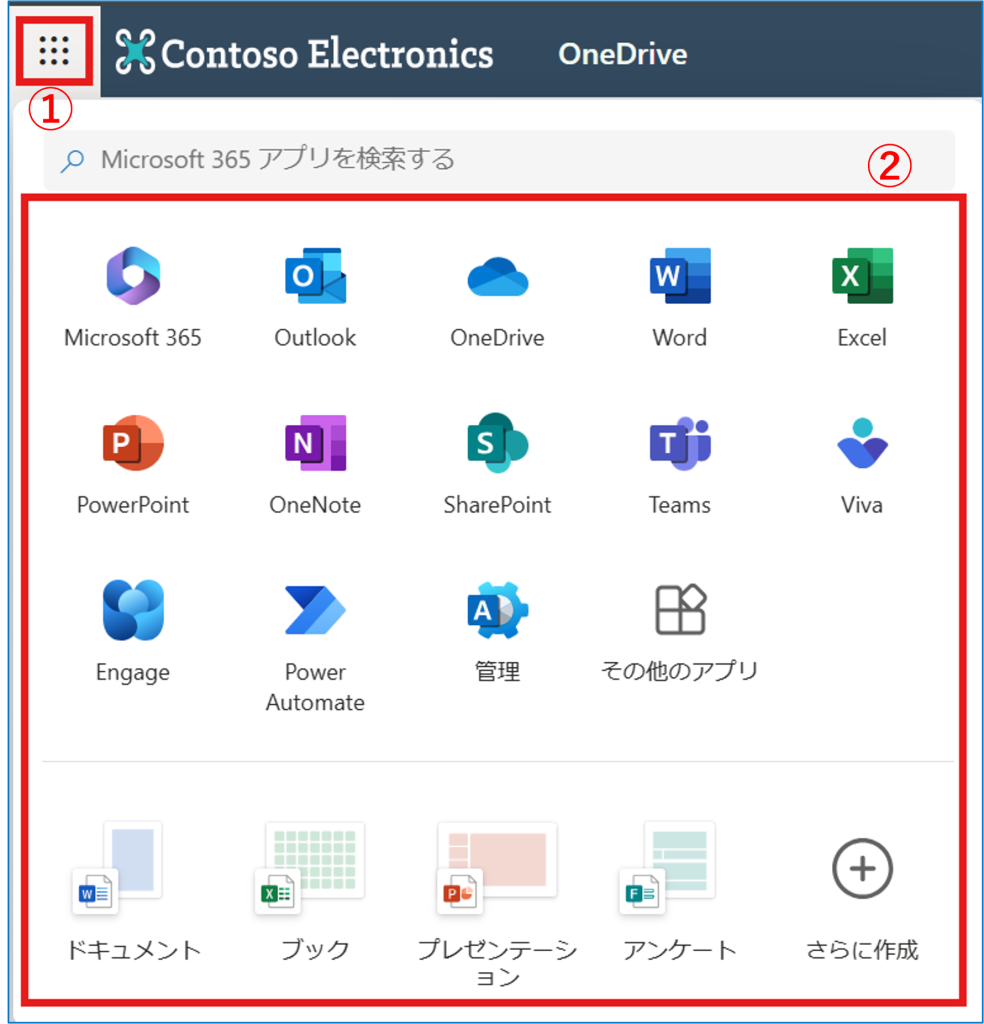
3.作業が終了し、ファイルを閉じるには①【アプリランチャー】をクリックし、②次に【使用するアプリ】を選択します。
![](https://livestylewebsitestorage.blob.core.windows.net/livestylewebsitescontainer/2021/12/create-onedrive-items_005-984x1024.png)
※Office Online で変更された内容は、常に OneDrive for Business に自動保存されています。作業が終了した時は、別のアプリに移動するか web ブラウザーを閉じても結構です。